How to add Social Proof widget to Shopify
In this article I'll show you how to create and add a simple Social Proof / FOMO widget to Shopify store. Instead of using 3rd-party applications, we'll pull the list or recently purchased items using really simple serverless function which we'll host on Cloudflare Workers at no cost.
So, what the Social Proof / FOMO widget is?
I'm pretty sure, you saw these widgets a lot of times on different ecommerce stores.

The purpose of such kind of widgets is to increase conversion rate, credibility and trust. There is a lot of widgets on the market, their functionality and design is pretty similar to each other, and they are pretty expensive (especially if you're just starting your online store).
So, let's make our own Social Proof widget in three simple steps.
Step #1 - Create a new private Shopify App
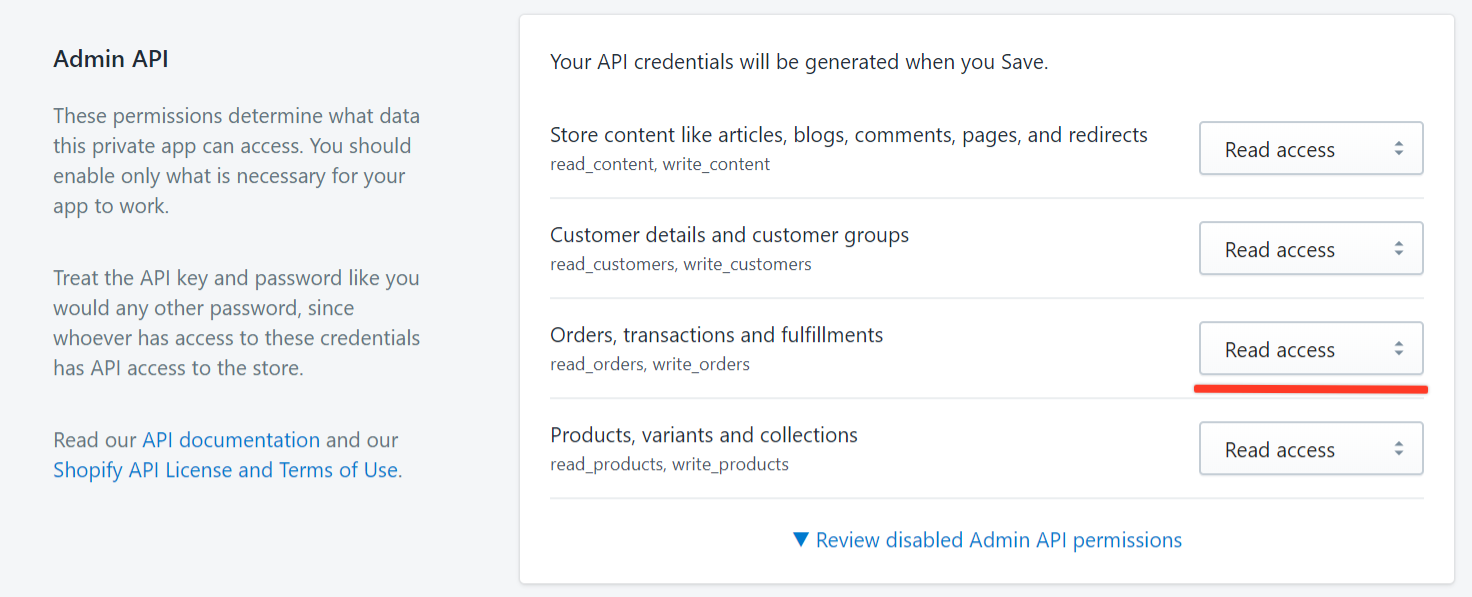
First, we need to create a private Shopify App which allow us to access our store's data via API. To do this, login to your Shopify Admin Dashboard, and go to Apps → Manage private apps → Create a new private app, fill-in all required fields (such as app name and your email address), and make sure the app is allowed to read Orders information:

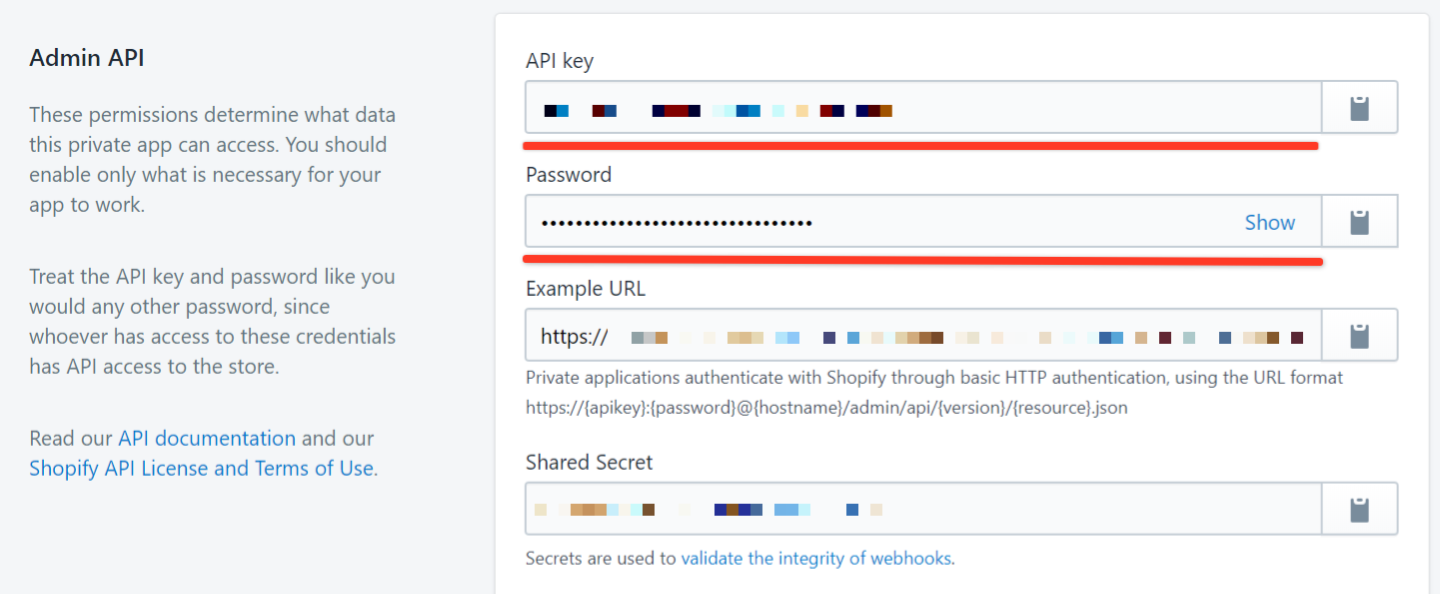
After you save the app, you can grab your app credentials (you'll need these credentials in the next step), as shown on the screenshot below:

Step #2 - Create a new Cloudflare Worker
So, what the Cloudflare Worker is? In short, Cloudflare Worker - is a container, which allow you to run a serverless function written in Node.js. "Serverless" means that you do not need to have a server for this function, or even think about configuration of the container - everything is done by Cloudflare for you.
If you haven't worked with Cloudflare before, you need to signup at Cloudflare.com and go to Workers directory.
Then, create a new worker with the following source code:
And then enter app credentials you created in previous step:

So, what this function does? This function executes each time it receives a GET request, and reads latest 50 orders from your store. As we do not want to expose private order information (such as customer email and other sensitive information), we return filtered data, which includes customer first name, customer city and purchased item. This data will be used by the widget itself.
Step #3 - Add widget to your Shopify Theme
Once you created a Cloudflare Worker, you need to login to your Shopify Admin Dashboard and go to Online Store → Themes → Edit code of the current theme and create a new widget.js file inside of /assets/ directory with the following content:
And then, you need to add the following code before closing </body> tag in theme.liquid file:

Do not forget to replace the URL with actual URL of your Cloudflare Worker. If you did everything right, you should see something like this on your Shopify store:

The source code is available on Github Gist and on Codesandbox.
You may take a look at live demo here.
A few notes:
- For demo purposes I haven't added product images and links to the products to this widget, as this information is not included to Order payload, so it will require additional API request on our serverless function to get all this information.
- I also haven't included a real time of the purchase, as new orders will be rarely added to the demo store.
Feel free to contact me if you need any help with setting up or customization of this widget.